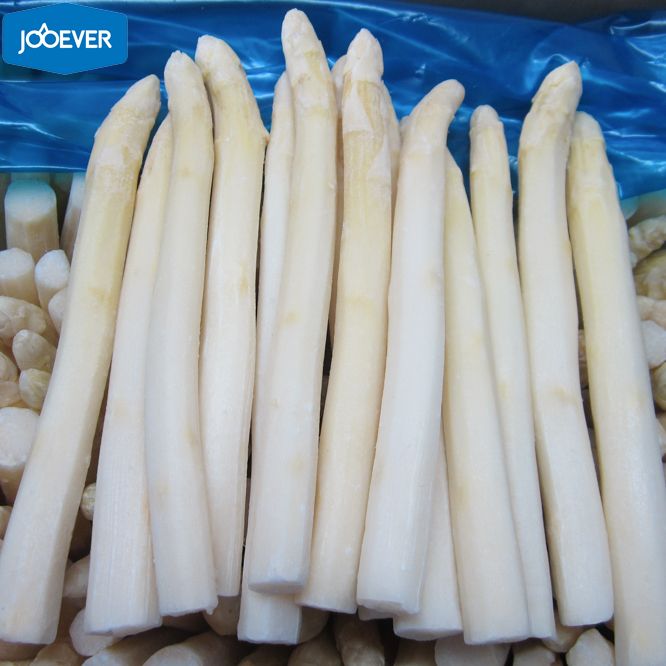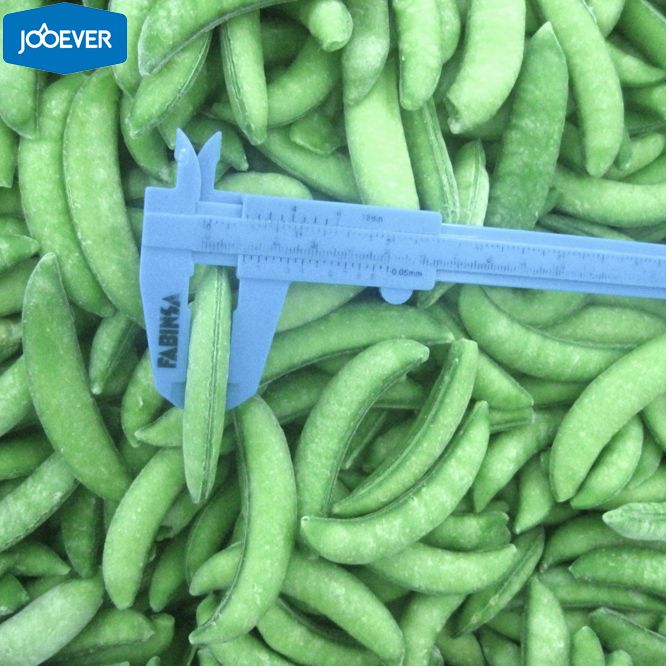


Your reliable partner for frozen foods
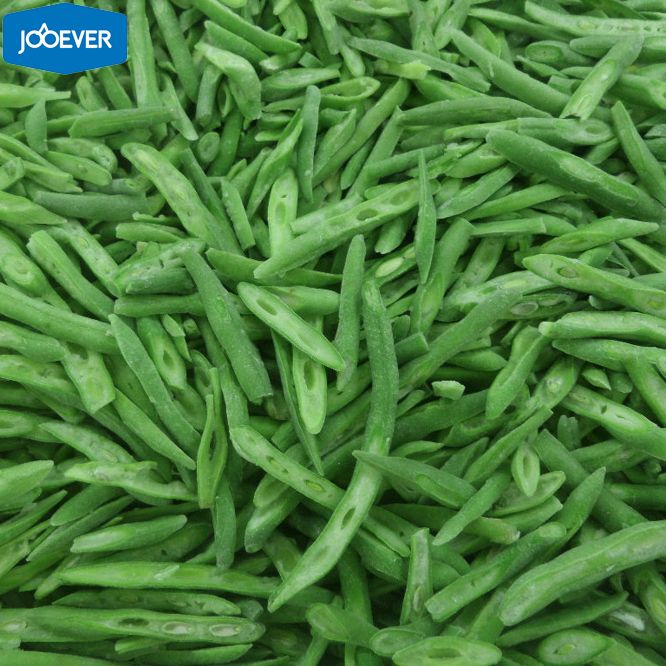
Blanching green beans before freezing them is a crucial step to preserve their color, flavor, and texture. Proper blanching ensures that the green beans stay fresh and vibrant even after they have been stored in the freezer. In this article, we will dive into the details of how long to blanch green beans for freezing, providing you with a comprehensive guide on the process.
Blanching is a process where vegetables are briefly submerged in boiling water before being cooled down rapidly in an ice bath. This step is essential for various reasons:
Blanching halts enzyme activity in green beans, which could lead to spoilage and loss of color and flavor over time. By deactivating these enzymes, blanching helps preserve the quality of the beans during storage.
Blanching helps lock in the bright green color of the green beans, preventing them from turning dull or brown in the freezer.
Blanching briefly softens the green beans, making them more freezer-friendly while maintaining their crispness and texture when cooked later.
Follow these simple steps to blanch green beans properly for freezing:
Start by washing and trimming the green beans. Remove any ends or blemishes, and cut them into desired lengths if necessary.
Bring a large pot of water to a rolling boil. Ensure that there is enough water to completely submerge the green beans.
Submerge the green beans in the boiling water for 2-3 minutes. The exact time may vary depending on the size of the beans and your preference for doneness.
Quickly transfer the blanched green beans to a bowl of ice water to stop the cooking process. Leave them in the ice bath for the same amount of time they were in the boiling water.
Once the beans have cooled down, drain them from the ice water and pat them dry with a clean kitchen towel or paper towels.
The optimal blanching time for green beans can vary slightly depending on their size and tenderness. As a general guideline, here are the recommended blanching times:
Blanch small green beans for approximately 2 minutes before transferring them to the ice bath.
For medium-sized green beans, blanch them for around 3 minutes before cooling them in the ice bath.
If you have larger green beans, blanch them for 4-5 minutes to ensure they are properly cooked and ready for freezing.
Keep in mind that the blanching times provided are a guideline. You can adjust the time slightly based on your preference for the final texture of the green beans. For a more crisp result, reduce the blanching time slightly.
After blanching the green beans, follow these best practices for freezing them effectively:
Ensure that the blanched green beans are dried thoroughly before freezing to prevent ice crystals from forming and affecting their quality.
Consider portioning the green beans into meal-sized servings before freezing. This makes it easier to defrost only what you need later.
Place the blanched green beans in air-tight containers or freezer bags, removing as much air as possible before sealing them.
Don't forget to label the containers with the date of freezing to keep track of their shelf life in the freezer.
Blanching green beans before freezing is a simple yet essential step in preserving their quality for an extended period. By following the recommended blanching times and best practices for freezing, you can enjoy fresh-tasting green beans even months after they have been harvested. Remember to customize the blanching time based on your preferences and take care to store the frozen green beans properly to maintain their flavor and nutrition.
For a wholesaler of frozen vegetables and fruits like our company, ensuring the quality and freshness of the products is key to satisfying customers and standing out in the market. By mastering the art of blanching and freezing green beans, you can provide your clients with premium products that retain their natural goodness and appeal.


© Copyright XIAMEN JOOEVER CO.,LTD All rights reserved. Site Map Powered by jooever.com